
Looking from the double doors into the room, that is the closet wall to the left.
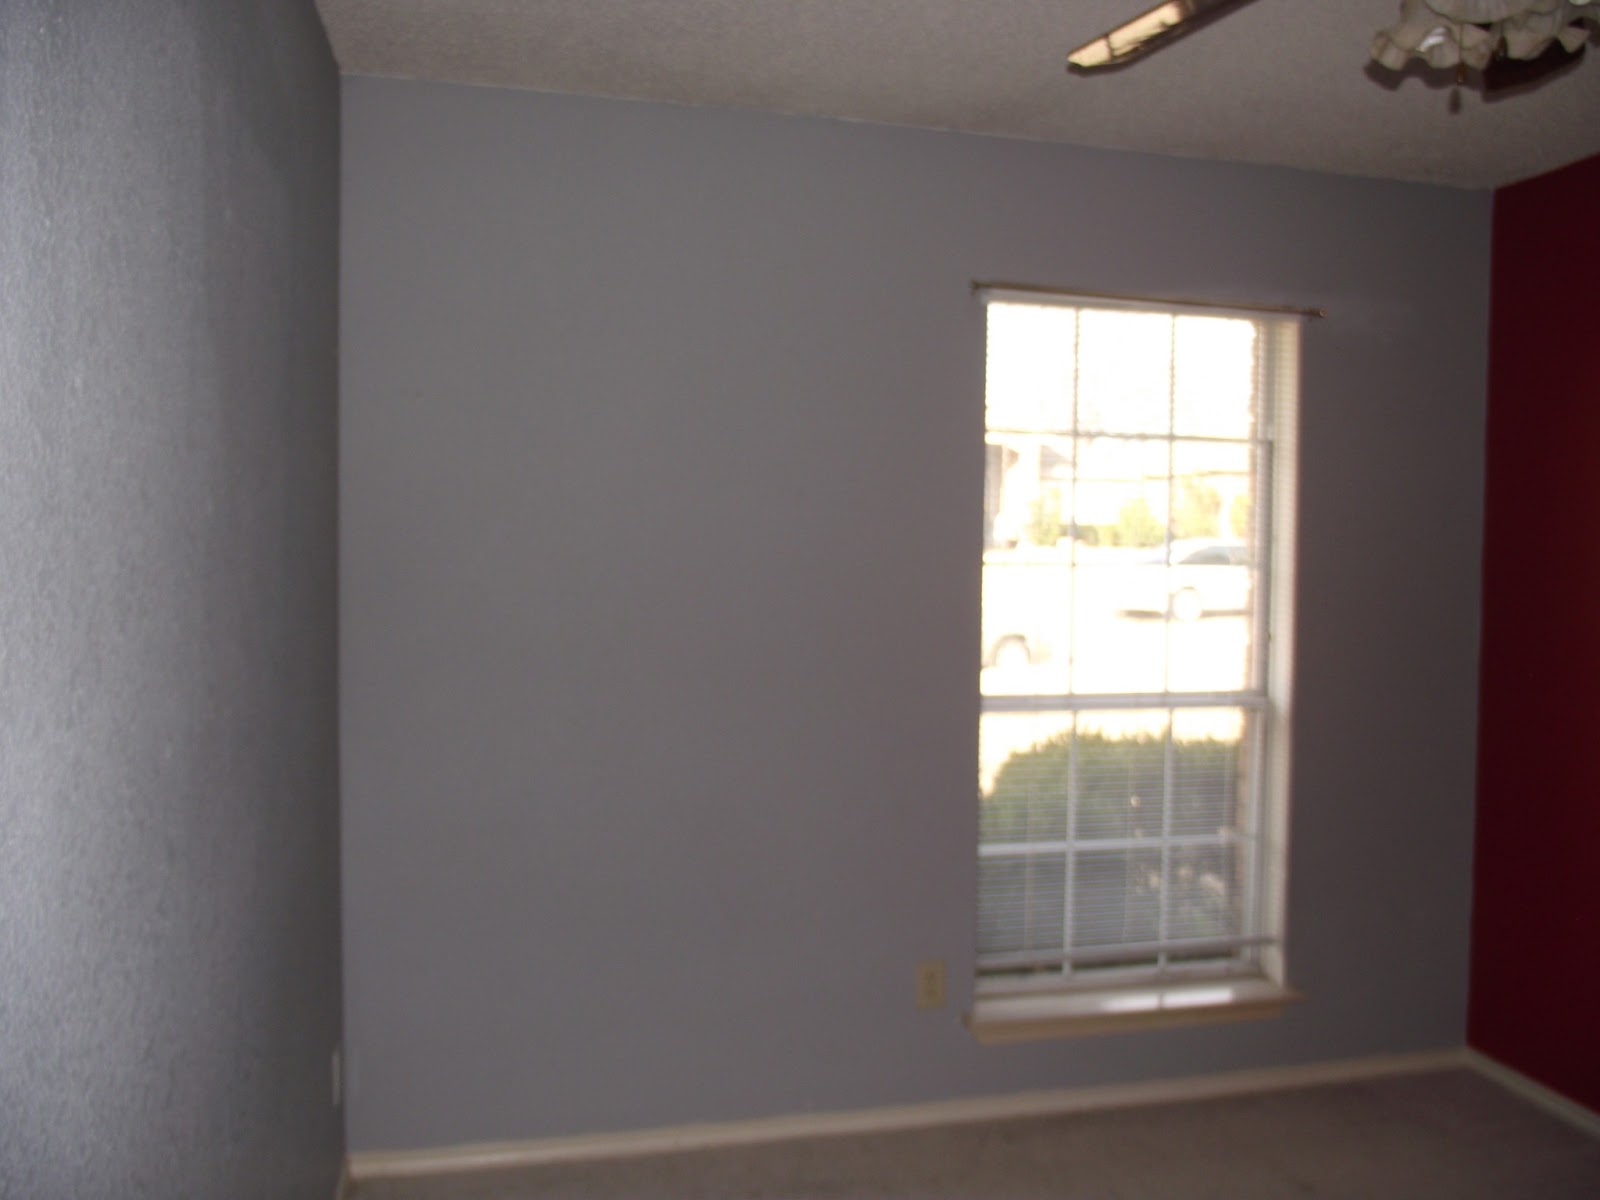
Standing in front of the closet, looking towards the window wall. Can you tell from the paint colors that he was a "Star Trek" fan? Lol, not taking the time to paint the room right now. My daughter will be in from Korea in a month or so, and she has asked if she can mural the wall. So, maybe there will be another entry later sometime to show what she does on them.

The burgundy wall, looking back at the double door that we came in at.

Then, lastly, a better look at the closet wall. Oh yeah, we have a twin size bed that we are saving for our son for a while.

This is a Tikes toy box and bookcase that I got from a garage sale for just $20. I had to break it down like this to get it to fit into my little Nissan. But, I tell you what...where there is a will, there IS a way!!!

Here it is all put back together. I had also bought a changing table, Tikes Coupe Car, and blue rocking horse for the room. You will see in the next pictures that they just didn't fit. I had the two oldest kids to come and stay for two days and help with the room. Together, I let them help to decide where stuff would go and what would have to be sold. All in all, we did good.

Here is the closet. Now, that rack is not staying there, but I might take the bottom half and attach to the wall to keep some art supplies in. IF I do, I will post another picture later when we post the wall painting. See the stuff on the left..."Wee Waffle Blocks" and "Little Tikes House", they were from when my kids were little. As were the "Flat Folks" that are the right hand side on the shelves. The square flat looking thing up against the wall with metal legs and frame is a feeding table that we had bought when our first was born. The swing was bought used for $15 at a garage sale.

The books were either sales or from the attic from my kids. The book stand was a $5 garage sale find. The play kitchen was a $4 find at a yard sale, and if you look back at my old posts you will see the one on play food that I make. Remember that twin size bed? The box spring got moved to our daughters room, her bed is tall like royalty now. lol. And, the mattress is behind all this stuff covered with a green sheet. Makes it easy to pull out and plop on the floor if just one of the little ones come to visit. Next is an old popcorn tin with some extra play dishes in it. Last in this picture is the pink rolling handled bucket that I got for $4 at a yard sale and it is holding some Fisher Price activity blocks that I picked up cheap.

Ah, there it is...the piece that was so hard to get home. Toy chest and bookcase. Full of some more of my kids old toys and books. Really like how nicely it stacks. On the window wall, I just hung back up the old black curtain that my son had in there for now. I plan to make a fun ruffled curtain sometime, soon I hope! The little table is another great find, it is by Tikes and the legs screw off, it was $1. The chairs...two were in the attic and two I picked up for free off someone's curbside trash.

Here is the best little toy I think that I have ever seen for a toddler!!! I paid $25 (I think) for this and it was so worth it!!! See the little green seat with the blue liner? There is a stuffed cat in it at the time of the picture. The seat attaches to the toy and the child can walk or toddle around the entire toy! As they get older, the seat can be disconnected and the toy can be used as a play table. Hours of entertainment!!! Then another of the Tikes playhouses and the accessories in a large tub. Those were all from the attic from when my kids were little.

We are back to the door and the small wall next to the closet. There was just enough room to put up a bookcase. This used to be one of those large wall units. I took out the center tv console area, and just kept the two tower units to be used as deep bookcase. Works great here. I was going to put a small tv in there, but the tv no longer worked, so we got rid of it and just piled in books and games. I don't think I paid over $2 for any game, I had not save the ones from my kids. That little popper toy was $1 and the jury is still out on if we are keeping that noise maker today or not.
As I write this, all four of the kiddos are here visiting for the day. I have one very tired teething ten month old asleep in my lap. The other three are in the playroom on the floor with fleece blankets that I made to be used for whoever is here and needs them...
This room is only about a 10x11. It is not huge. You might ask why share something like this. I think it is in part for my family to see that don't live here, and the rest is to show you how you can have a playroom with little out of pocket expenses. I do hope to have grand-kids but my kids are not ready yet and that is fine. I still say that a playroom is the best use for the room right now. Who knows, maybe I can get an occasional babysitting job and make a bit of extra money. I do love children. Ok, that is enough for now.
Oh, I have been following a blogger...Hannah Keeley! She is my new inspirational go to... http://hannahkeeley.com/blog I am following her 30 Day Purge. I have to admit that I am not doing it all in order, but am keeping up fairly well. I had already started cleaning my kitchen and doing some painting, so I couldn't just abandon that. But, I did want you to see my kitchen pantry. Again, it is not large, but it is all in how your arrange things. I used stuff that I already had and just went through the entire thing with a trash can close at hand!

How awesome is this? I should have taken a before picture. Let's start at the top... Large containers of baking stuff and mixes. The next shelf is can goods (we are a bit low, but we don't do a lot of canned goods) and the basket is my "get well" basket. You ask what that is? It has jello mixes, crackers, ramen soup, a Gatorade ... comfort foods for when someone gets sick. I do not like for someone to get sick and then I have to run out to the store and get foods just for them. Just be sure to rotate them out every so often so that they don't go bad before you get to use them. I didn't really see this done anywhere. I thought of it when our daughter came in for the wedding and had a couple days when she was sick and we had to go get stuff real quick. I really like having this basket of foods...just in case. Next shelf is a basket of snack foods, and then a basket of foods that are Asian based like the teas, straws, seaweed, rices,... Ok, moving on down a shelf, syrup, peanut butter, vinegar, oil,... then a basket of packet mixes and a basket of baking needs like chocolate chips, almond bark, baking soda and powder, brown sugar,... The bottom shelf is all our appliances that I don't just leave out all the time. Large and small crock pots, toaster, can opener, rice cooker,... And lastly, on the floor is the city's red recycle tub on one side and all my cake decorating stuff on the other side. Now, I am not by any means saying that this will work for YOUR pantry. You have to do what works for your family. I do not have small children at home, so that cuts down on a lot of stuff that we used to have. We try to keep chips and cookies out of the house. I do have a couple of glass containers out on a counter with cheerios and other healthier snacks that are easy to get to. So, do what works for your family. Just had to show you how nice it can look with a bit of organizing and purging.
Ok...leaving you for now, and I should be back in a week or two. I am doing some painting and might show pictures of that next time, and some of the little details that really help to make an area look new and fresh. Have a great week and try to tackle just a couple of spots and do some deep purging. As Hannah Keeley said... Don't let your home become the landfill get rid of it if you don't need or use it.
Later...


