Tinker Around

Welcome to my blog. It is full of basic projects and tutorials for things that I have done and feel like others out there would benefit from learning too. Be sure to take time to leave me a comment. Thanx, Pam
Showing posts with label faux finishes. Show all posts

Thursday, February 17, 2011

Organization...Day Three

Wow!!  What a week!!  We put our 22 year old daughter on a plane to South Korea on Wednesday.  She has a work Visa to teach English in Daejeon for a year or two.  She is like an extension of my right arm and my painting buddy!  I am so thankful for Skype and  that we have already gotten to see and chat with Sarah!!!

Ok, you didn't come to hear about that.   Sorry, I had said that we would talk about my paint storage case and what is in it, but we are going a different route.  Canvas Storage and Flooring.  Maybe I will be where I can get the case out and go through it next week.  So... on with the canvas storage and what is going on in the art/craft room organization and redo.  I am going to post step by step photos this week.  Here is a picture of the canvas all hung up nice and pretty, it turned out just like I have envisioned in my head!!  Love when that happens.


Now, here are the steps that I took.  First, decide how many canvas you can put in one grouping and the door still open and close, or you could just put them in a closet on the wall or wherever.  The thing is, you need to get a measuring tape out and see what length of belting, strapping or whatever materials you are using is going to be needed.  I am using this purse handle webbing that is one inch wide and was purchased with a coupon from my local fabric store.


Then, I took and slathered the area where I was going to cut it with Fray Check or some sort of Fabric Glue and let it dry before you cut it.  This will keep the ends from raveling later, you can see that mine still shows signs of raveling because I tugged on it so much to get the knots smaller.


I used the Hercules Hooks as my nails or hangers.  I purchase these things at the store, and get a couple packs at a time.  They are great and I have NEVER had anything to fall off the wall when using these.
Lastly, hang the straps up and slide in your canvas.  Isn't that cool!!!  And yes, I thought it up myself and am rather pleased with that fact!  I am also thinking of hanging some shelves using the same technique, though I don't know yet.  If you have questions about how these hooks work or anything, please feel free to post under comments.


Peel and stick tiles are not the best flooring around, but when you have carpet that is paint stained and rippling...well, I had to do something cheap for safety sake!!   First, I cut the carpet with a cutting knife/blade and took a look underneath to make sure there were no major cracks in the flooring.  IF you have large cracks, stop!!  You will need to have your house professionally leveled before you do anything else.  Mine was fine so I proceeded to take out the carpet, and it is heavy, so do it in sections if you are working alone like I was.


Be careful when you start pulling out those tack strips, they use strong pointy nails for a reason.  Use a claw hammer and flathead screwdriver to get under the edges and get all the nails out of the concrete.
Then, take an old, really trashy towel and wipe down the concrete, get all the little pieces and dust off the floor.  Tile won't stick to dust!!!  Don't try to get all the tire tracks and stuff up, just get it dust free and flat.  Meaning...if there are globs of ceiling and stuff stuck on the concrete you better get it up.  No reason to go to all this trouble to have that tile ripple with a lump under it later.


Next, fill the little holes with joint compound.  You can get it at the hardware store in a small tub.  Be sure to get some sort of a putty knife to put it down with.  I lost mine somewhere during the carpet removal and used a pallet knife to finish up.  (I did find it in the kitchen sink later.  lol)  This is like icing a cake and filling the cracks.  You can go back and lightly sand the filled areas later to smooth them out, I got mine flat enough the first time that I didn't bother.

I also decided to paint the walls and baseboards before laying the tiles.  Might as well do it all while I was at it.  The baseboards got painted to go with the door frame.  I just felt that there was too much white and cream everywhere if I were to leave them unpainted.  I took two different colors of Folk Art craft acrylics and a flat brush, dipped the brush into the two colors (one on each corner) and just slapped it on there. Really!  I didn't do anything special except to keep the paint on the baseboards.  I even let the paint get on the concrete.  Seriously!  It IS that easy.  Here is a picture of before and after.


I hand wipe each section just before laying the tile on the concrete, yes, I just swipe it with my bare hand.  Be sure that the concrete has dried completely and all the holes are dry too.  Nothing like a tile popping up later cause you didn't take the time to do it properly.  Also, be sure to purchase extra tiles and store in the closet for tiles that crack or get so dirty that they have to be replaced.  I did that with my bathrooms over 10 years ago, and have never needed the tiles, but I have them just in case.  The patterns that I used in those bathrooms have been discontinued now.  Better safe than sorry.

Most folks say to start in the middle of the room and work your way out.  I start at the doorway.  The reason for this is that no room is square, you are going to have to cut pieces for adding at the side walls and stuff, no way around that.  But, when I walk into a room, the highest traffic area...I want to start with a full sized tile and not some little piece that has been set in at the end that might pop out.

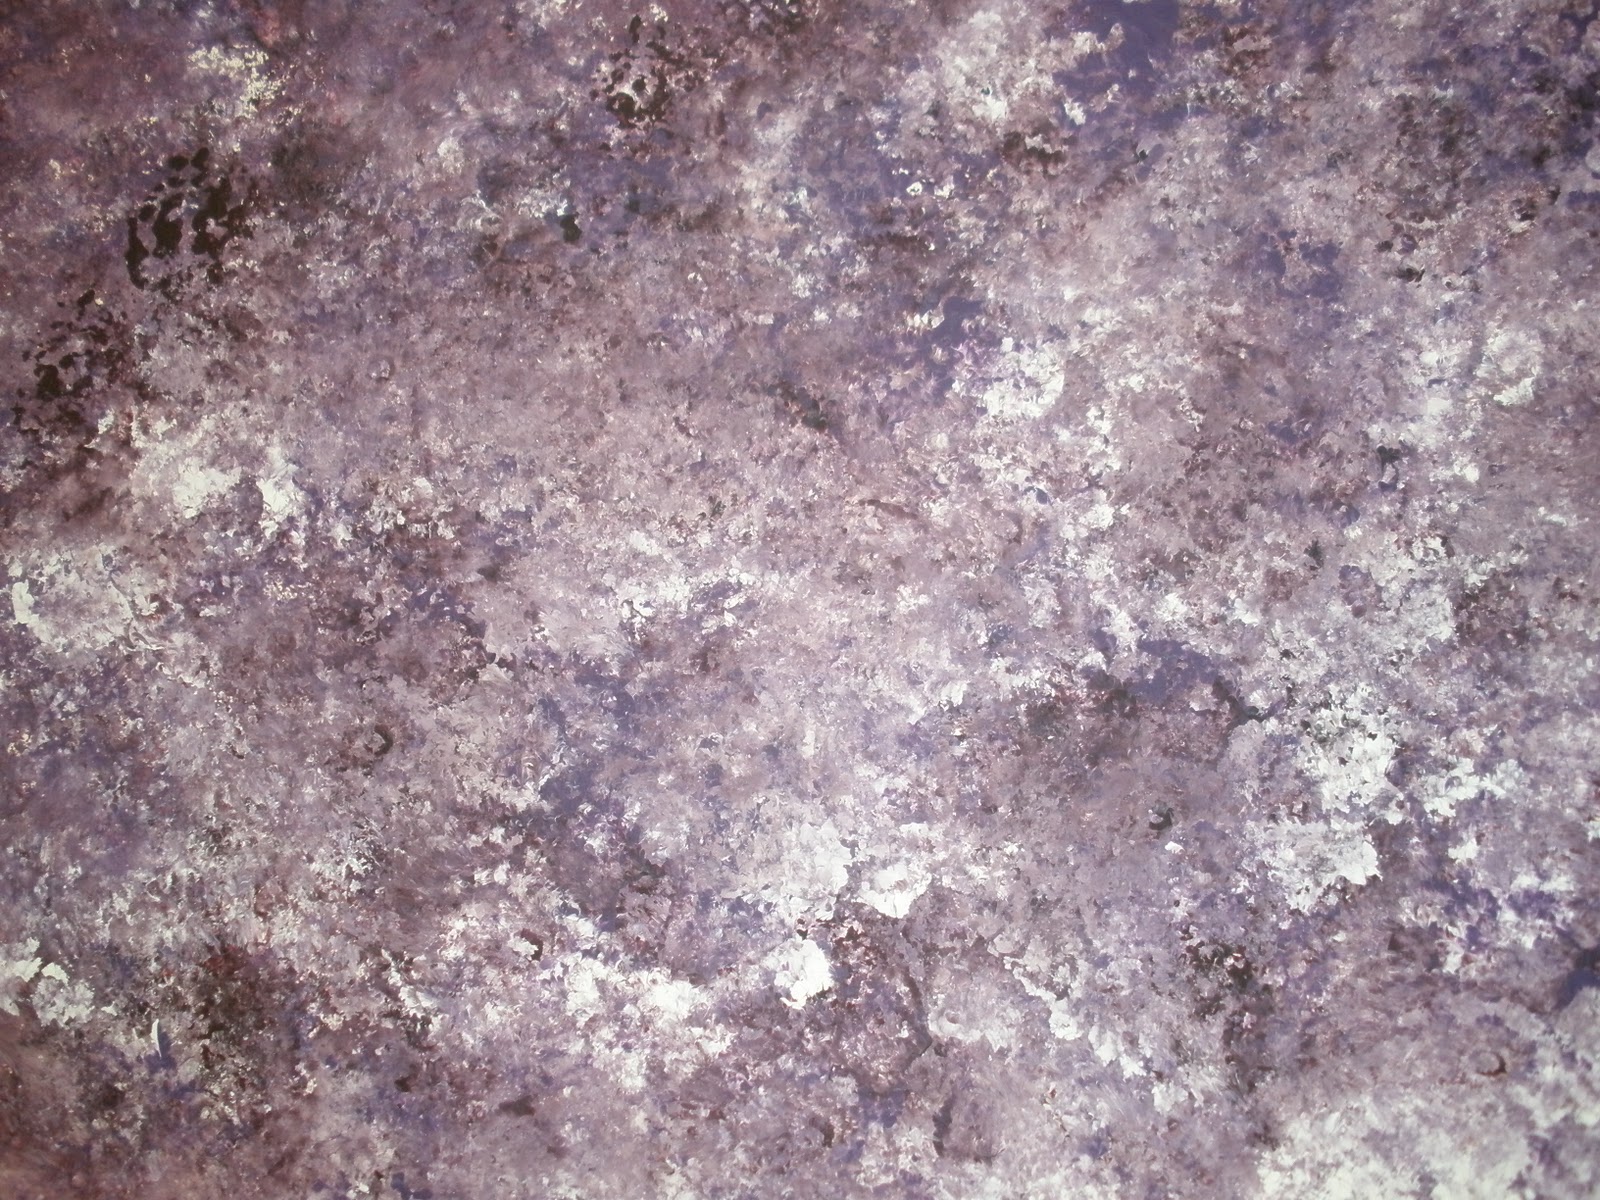
Here is a picture of the floor before and the tile after.  I like the tile.  Looks like a slate or marble, and it is .99 a square peel and stick.  Go figure!!!


I really hope that this information will help someone decide to tackle that flooring, it really isn't that hard.  And I think the payoff is great, my students and I love it!!!


That is it for this week.  Hope to have the room almost finished by next week and then we will finish this Organizational Section of the blog up and go on to something else.  Hope you are all having a great week and getting some organizing of your own done.  Please take the time to leave me some comments, I look forward to reading feedback from my readers.  - Pam

Thursday, January 20, 2011

Faux Finishes

Today's post will be all about taking shortcuts in our painting.  Why spend hours making layer upon layer of paint when you could just do a faux finish in a whole lot less time and money?  So, there are gonna be lots of pictures, and for each finish I will just list the tools and the paint colors that I used.  The paints for these finishes are by Folk Art, that brand is the thickest of all the brand of crafting paints and therefore goes much further.  All these are my practice boards so to speak, and are done on canvas sheets.  I keep them for reference to show clients for backgrounds.  Here we go!!!

Some rules that apply to these finishes...Completely drying something means that it can't be cool to the touch, because that means that it is still wet down under the top skin of paint.  Walk away, let it dry!  When you go on to a second step in a process, work fairly quickly as you don't want it to start drying while you are still trying to work with the paints.  When working with sponges, be sure to wet it first and then wring it out real well, maybe even giving it a good squeeze with a cloth towel.  Try to pick up liquid off a counter with a dry sponge...now try again with a sponge that has been wet and then wrung out.  Amazing how much better and more efficient a dampened sponge works!


First.  Woodgrain.
Basecoat with Butter Pecan, and let it dry completely.  Next is a mix of two parts of glazing medium (from the craft store is fine) with one part of Burnt Sienna.  Paint over the entire surface with the mix.  Use your woodgraining tool (can get one at the hardware store or online) and pull through the paint while slowly rocking it to obtain the look you want.  Because this mix had the glazing medium in it, you have some time to work with it.  IF you don't like your first attempt, just repaint it with the paint that is already on the surface and try again.  Let your rows overlap just slightly.  Let it dry.


Second.  Kinda looks like faux leather, depending on what colors you use.
Basecoat with Yellow Ochre, and let it dry completely.  Make a mix of glazing medium and Burnt Sienna, equal parts of both.  Work quickly and paint over the surface, lay a plastic shopping bag (writing on the INSIDE!) down over the top.  Squish it around, leaving wrinkles all over.  Peel it off and there you go.  Don't like it?  Just redo it real quick.  Let it dry.


Third.  Damp Sponge Background.
Here is where you use one of those sea sponges with all the holes in it, be sure to dampen and wring out.  On a throw away recycled lid, put out Burnt Carmine, Violet Pansy, and Wicker White.  Pick up some of each color and apply all over and repeat until your surface is covered.  IF you need more open time to work, add just a bit of glazing medium with each color before you start.  Rotate the sponge as you are pressing it down so that you don't get all the holes in the same places all the time.  I have used the technique quite a bit when doing memory boxes for area hospitals.  You can make a really soft pastel background to paint little baby things on.


Fourth.  Damp Sponge Marble.
This is done like above as far as using a sponge, but it looks more like a marble due to the colors used.  Basecoat in Burnt Umber, and let it dry.  Now use water and thin the paint down a bit, it isn't going to be quite one to one.  You don't want your paint runny, but you want it thinner than it comes out of the bottle.  Colors that I used are- Burnt Sienna, Raw Sienna, Butter Pecan, Metallic Inca Gold, and Burnt Umber.  Use your Sea Sponge and work while it is wet with all the different colors til you get the look you want.


Fifth.  Denim.
Basecoat in Navy Blue, and let it dry.  Second layer is a mix of glazing medium and a touch of true blue.  Put this mix on very quickly with one of those inexpensive foam brushes and then with a VERY light touch drag a dry wallpaper brush through it to leave streaks.  You can come back in and add any orangy colored stitch lines you want to after it is totally dry.  You can also float a line of the color next to the stitching to make it look more like a raised seam.


Sixth.  Linen.
Basecoat with Butter Pecan, and let it dry.  Mix of 1/2 glaze medium and a little French Vanilla and coat the canvas.  Quickly while it is wet, drag the dry wallpaper brush across it to leave fine lines.  Let it dry.  Repeat the mix and drag process again going the opposite direction.  Let it dry.  Nice background for lettering signs.


Seventh.  Crosshatching.
You are going to use a 3/4" flat brush for this one.  Wet the brush and dry it on a paper towel.  Put Teal and Extender all around the outside using small "x" motion with your brush.  Inside that comes the same technique with Cayman Blue and Extender, be sure to blend in with the first area.  The last color is Wicker White and Extender in the center, blending with the colors used before.  Can't tell you have many times I have used this for a background on many a surface!!!  You can use any two or three shades and just go from dark to light, blending in little crosshatching "x" strokes as you go.  Because of the extender, you can play with this for a while, but don't drag out the process.  Love, Love, Love this technique!!!


Eighth.  Diagonal.
Is done with a 3/4" flat brush and worked one color right after the other while it is still wet.  You do one color and then do the next one and blend to create a color in between.  Colors used are- Burnt Umber, Raw Sienna, Terra Cotta, and Linen.  Keep using the same dirty brush through the entire process and don't overwork it.  Let it dry.  I have done quite a few angels on this background after changing the colors to various shades of blues and white.


Ninth.  Crackle.
Really like putting a crackle on the background before doing something that is gonna be shabby-girly, antique or country.  Basecoated with Bayberry, and let dry.  This is really quite simple and I used the kit put out by Plaid called Crackle Coat Kit.  Do the Undercoat in ALL ONE direction.  Let it dry for about 30 minutes or until it is just tacky to the touch, no wet puddles!  Then, going in ONE direction I put on a coat of Linen.  DO NOT RESTROKE you work, it will start pulling up and moving around on you and you will end up with a mess.  Trust me on this one.  The less strokes, the better the results.  Now, sit back and watch it crackle, too cool!

I encourage you to just get some old scraps of canvas or wood and try these out.  Change up the colors and see what different effects you can get.  Always remember, it is only paint.  You can almost always sand it all off and start over!!!  Enjoy these techniques and see how you can use them to change up your furniture, walls and decorative painting surfaces.  Be sure a let me know what you think, leave me a comment.  Are you using one of these techniques to revamp something??  I would love to hear about it!!

Be sure and check back in with me next week when I tell you what I use my Flee Market Hymnal for.  Happy painting and go do something creative.  - Pam