So... lots of folks have taken up coloring these days... I am not sure that I ever stopped. But, I have moved on over to colored pencils... and then doing some lettering over the top when I am finished. Here are a couple that I have done recently.
And, even the above page is pretty... you can add so much by doing the backgrounds too. See below.
But, I am not here to talk about the coloring process today... if you are interested in coloring and sharing with others... we can be found on facebook under "Coloring Books keep it clean".
This is the cardboard box cover that my new Bible came in. I won't really be keeping it in there cause it is very snug and rubs... plus, now with the tabs, it won't fit! I got the hard cover one. They also make a soft cover one... I loved the cover on it, but the end pages are what sold me on the hard cover.
I know... right!!! Are those not the most beautiful pages you have ever seen on any Bible?! It is the NLT, and more relaxed translation ... just really easy to understand. I didn't think that I would like it at first, but then I have read the Bible enough that a totally different yet supported translation will do me some good.
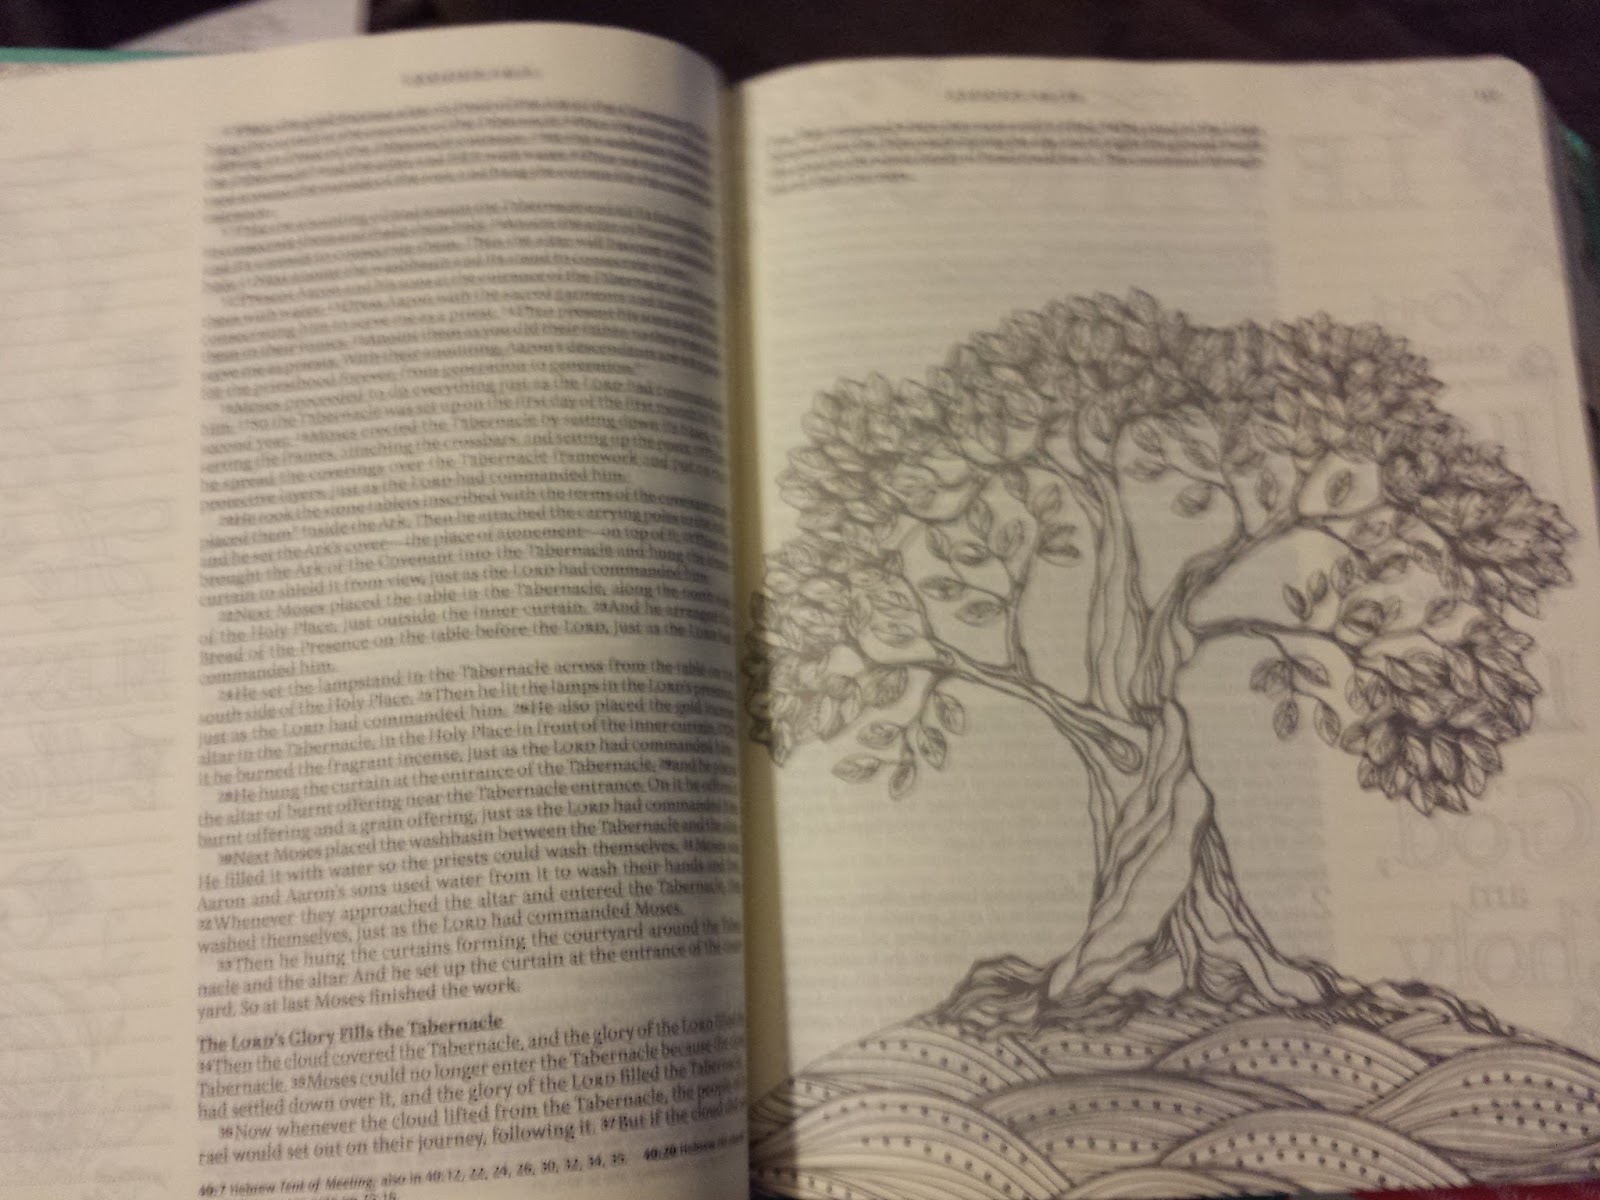
Might as well show you some of the inside pages. These are put throughout the book, and then there are also lined pages throughout for you to do your own journalling on.
Then, below... there are a few pages like this... just full and ready to be colored! I like using my PrismaColor Soft Core Premier Colored Pencils the most.
Above is the paper that I got at Hobby Lobby... NEWS FLASH... I paid full price. I know... I don't think that I have ever paid full price for paper! I did splurge and get three pieces, just in case I messed up on one.
That is just my view as I impatiently wait for my printer to start printing out on the new paper.
I like to give credit where it is due. The free tab print off is on this lovely lady's page...
http://www.littlebitfunky.com/2015/01/20-minute-crafter-journaling-bible-tabs.html
The tutorial there is good, I have just done some tweaking for it to better suit my needs. The free download is down towards the bottom and very simple to use.
Just took the two sheets of paper. Nothing messed up. Well... almost nothing... Because I am going to be putting these across the top of the pages of the Bible... my music notes will all be going sideways! Oh well... I still like them... moving on.
Cutting each one out by hand. Started to use my cutter, but I was not getting the smooth edges that I wanted. Oh, also, on Crystal's blog, she used a hole punch to do inverted curves... I just wanted a basic curve and they were easy to do with the scissors.
This Xyron is a handy little tool to have about now. I have not used it often, but I do see me going through two rolls of sticky on this project! Don't mind the dirty black mess, I am on my painting table.
Lay it in there face up and just pull from the other end. When you are sure that one is totally cleared, pop in the next one.
Here is the first one... excitement builds!
I would normally do several things at once and then tear or cut the length, but I just wanted to make sure this was gonna work before I put too much time in.
The directions are on the paper backing... rub it down good, and then just peel!
That peel off part is very sticky, so don't let it get back onto any of your good work area. It is trash and needs to be put there pretty quickly!
Then, there is my sticker!
You can kinda see here that I left it partway on the backing, didn't wanna touch the sticky too much. Still wasn't sure how this was going to turn out.
Peeled off the backing, flipped the page over and folded over the tab.
Give it a firm pressing with your fingers on both sides. IF there is any sticky residue, this is a great time to go ahead and roll it off with your fingers so that your pages don't stick together.
There ya go... one down and 65 more to go! Should be done in about a month! At this point, you can tell that if these were going down the page, the music notes would have been going the right direction. I am not musical, just liked the color of the paper and really don't mind.
There is it with the page in front folded over... I really need to get those first intro pages colored!
See that white line at the end of the "Numbers" tab? That is where the lines don't meet up. Not a huge deal until you go to fold it over on the page and that sticky is there on the white part! I went ahead and started cutting them after I folded them. That really cut down on the sticky area later. IF over time, I find that there is sticky, I will just lightly dust those sticky areas with a bit of baby powder, I would think that would take care of the problem.
This... yes, what about this.... Here is what it looks like when you get the first tab in and pull out the next three to find out that the sticker maker is empty and needs to be refilled. Fortunately for me, I got a couple refills at the last scrapbooking convention I went to. Below, I got it all refilled and thought... hmmm, wonder if I can turn these the other direction and use less of this stuff. Got really close to the side, but I got better at it as I went.
Above, shows you how I just lay in the next tab, make sure it is lined up to where I can flip and then fold it over. Do the rubbing for any extra sticky and go on to the next one.
There are three finished now. Here is how it looks at the different angles. Again, I am not measuring, I am guessing. I knew that I didn't wanna start too far into the book cause you can't flip from in there, and I want to stop before I get to the outer edge... will figure that out as I get there.
You can see here where I am getting better at centering those tabs in the sticker maker. I did find it best to cut out two or three, put them through the maker, and then put them in the Bible in order. Move on to a few more and so forth. I am going to sit on the couch and watch a movie while I cut the rest out and send them through the maker. I will cut a few at a time as to keep them in order, but then just leave them in one long sticky tape until I am finished putting them all through.
I also started laying a piece of paper across the tab and even with the page to be sure that it was sticking out enough. I had to peel a couple off... not a problem as long as I did it right away.
This photo, above, show better how I am making a long tail of them while I am on the couch watching tv.
This gives you a shot of how the sticky gets rolled off with my finger, and then I just brush it away. You can see a couple bits here. Not a bunch of it, but it still needed to come off.
Now, I am not finished. But, I do like what I have done so far. I can see the beautiful side that helped to sell me on this particular Bible.
Oh, and a happy accident... above... I can still put the elastic band on there and not bend my new tabs. That just happened... an uh oh ah moment!
Above and below, you can see a couple different views with the first few tabs finished. I know that that sections of the "pretty" is gonna be gone, but the inside area and all along the side will be saved.
I went ahead and put the clear ruler up there to give you and idea of the measurements. You can see that I didn't measure, these are not perfect. God's perfect, I am not.
I did lay a piece of paper down and mark it as to where the Genesis started at. I need that to help me line up the next row of tabs.
Put that paper down on I Kings and got my tab ready.
Turning it sideways, you can see where it still doesn't like up perfectly. But seriously... that doesn't bother me. I didn't purchase one of those Bibles that were pre-tabbed or little indentations cut out. I wanted to do my own, call it mine!
Well... that is all I have for now. Like I said earlier, off to the couch with my tools and tabs to get to work. I will come back next year and post a picture (below) of it finished. I hope it doesn't take that long, but still, gonna be a while.

Hey, it is getting late and I am tired, but had to get back on here and post!!! Yeppers... this is Genesis through Luke. It is the entire first page of print offs. I am happy. Some of these look like they are really close together... I think it is cause some of the books are so small. Also, I always put the tab on a right hand page, where it fell it fell. When I get to John I, II, and III... I may find a way to put those all on one tab. I will have to just see how it goes when I get there. So, here is what is finished so far, and it did literally take hours! But, I still really like it!! Below is one more view of it. The top is a bit fatter, but that is ok... I am going to add a few tabs on the right hand side when I finish with the top tabs... I am going to add "Old Testament", "New Testament" and I will see from there....may or may not do the "Contents" and "Index". I figure just those few won't mess with my picture and will still allow nice tabs.

Well.... this time... that's it. You can just imagine what it looks like finished.
Guess I am like a bad tick that you just can't get rid of.... yeppers, I am back!
There were a few things that came up that I want to address. First, in any new book, sometimes the pages will stick together just a bit, so be sure when you put your tabs on that you just do it on that one page. No, I didn't mess up and do two, but there were times I did have to separate the pages really well. So, heads up on that. Then, as I was putting the tabs through my sticker maker, I realized that I might want to somehow combine 1-3 John. This is a repeat of one of the comments that I made before... so it is fixin' to get resolved.
Next issue is the much smaller books. As you can below, Philemon ended up being on the back of Titus... stay with me on this... Look at the next two photos. I had to have a place to put Hebrews, so this was the best way for me to solve the short book problem.
The problem with John... I also will have to start another row if I give all three tabs a spot in John... What to do? Here is what I did... I got a pen that trusted not to smear, and just put a one in front of the three and put the dash in there. I was pleased with it. Makes it not quite centered on the tab now, but I like it.
Ready? It is finished! Here is what it looks like on all the "pretty" sides. What do you think?
You can tell that the tabs did add some bulk and it is fuller on the outside now. Doesn't bother me a bit! I have also heard some folks say that they want to do different colors for the different sections of the Bible. Example... beginings, history, poetry, prophets,...
Then, I read where one lady did do then in different colors and wished that she had not. SO, my suggestion is to do a few, lay them in the spots (do NOT glue them in yet) and take a good look at it. Is it the look that you want? Do the colors all go well together? You are the one that will live with it, so there is no right or wrong answer! BUT, once you glue those tabs in, you are gonna have to live with it. Another thing that was addressed... I used scrapbooking paper, NOT cardstock. One lady said that she had printed them on the cardstock and was afraid they were too thick. I am thinking she is right... as bulky as my Bible ended up, I can't imagine how bulky it is going to be with cardstock folded over on each tab. So... when you are in doubt with things, don't glue it in yet... prep it and get it ready, lay it out there and try it first. Scrapbooking paper / cardstock isn't that expensive, you can change your mind as long as you have not glued yet. I feel like I am in repeat mode. Time to end this posting. Please feel free to add your photo of your finished tabs down below in the comments. Let's see each others and get inspired!

Hope you have enjoyed this... I have!
Be sure to "follow"... no tellin' what I will come up with next time!
-Pam