Tinker Around

Welcome to my blog. It is full of basic projects and tutorials for things that I have done and feel like others out there would benefit from learning too. Be sure to take time to leave me a comment. Thanx, Pam

Saturday, January 18, 2014

Sewing Area... and Painting and Scrapbooking

I decided that the "studio" was just getting out of control.  So, I began the overhaul, it was just that bad.  We have been bringing in stuff from my dad's that was mom's work room.  It was ok to start with ... but then a box here, a box there.  Memo to self, put stuff up when you bring it in and if there isn't a place for it... then don't bring it in the house to start with.

Below, is a picture of my very first sewing area, the machines had to go below the pop-up tables.  Just goes to show, that we can do something with a space and then upgrade as we can afford it.


http://tinkartist.blogspot.com/2012/09/making-large-work-space.html   This link will show you how to make your own table out of a sheet of plywood from Home Depot.  This is the most reasonable priced way of doing things that I have found.  Please feel free to share your room in my comments!  The picture below is how I had the table this last time.  But, the supplies were all in a bookcase across the room and the serger machine was kept in the closet.  Just too time consuming to get to what I needed for a project, so I just didn't use the space for anything but a junk surface.

Also... that file cabinet to the left (below) is covered with woodgrain sticky back paper now too.  My fabrics are in those cabinets hung by type on file folders.  That is also shown in my blog.  Keeps fabrics clean and no fading from the sun, plus they are at your fingertips with just a pull of the drawer!


The next picture show how the room looks now.  I must say, it is very workable now.  Everything right there where I can get to it!  The over-sized mat for cutting is standing at the end of the table with my tabletop ironing board.  


I hope you like how I labeled everything for you and that maybe something here will help you in your sewing space.  Click the picture and it will be larger and easier to read all my notes and labeling.

A friend asked me this week if we ever get to where we stop changing things in our "work spaces".  I told her that I didn't thinks so.  It is the nesting trait that we have as women. So... don't forget to check back often to see the next part as it is revealed, or just follow and it should let you know when I update the blog.  There will be at least three parts to this room makeover.

So... hope to see you soon, as I am excited about this and want to get it finished up pretty quickly.  Next entry will be the painting area in the room. -Pam


HEY!!!!!!!!!!  I AM BACK!!!!!!!!!!!!!   I am finding it easier to just add the pictures of the rest of the room here, instead of starting another new post.  So...


Below is the left and right sides of this painting area.


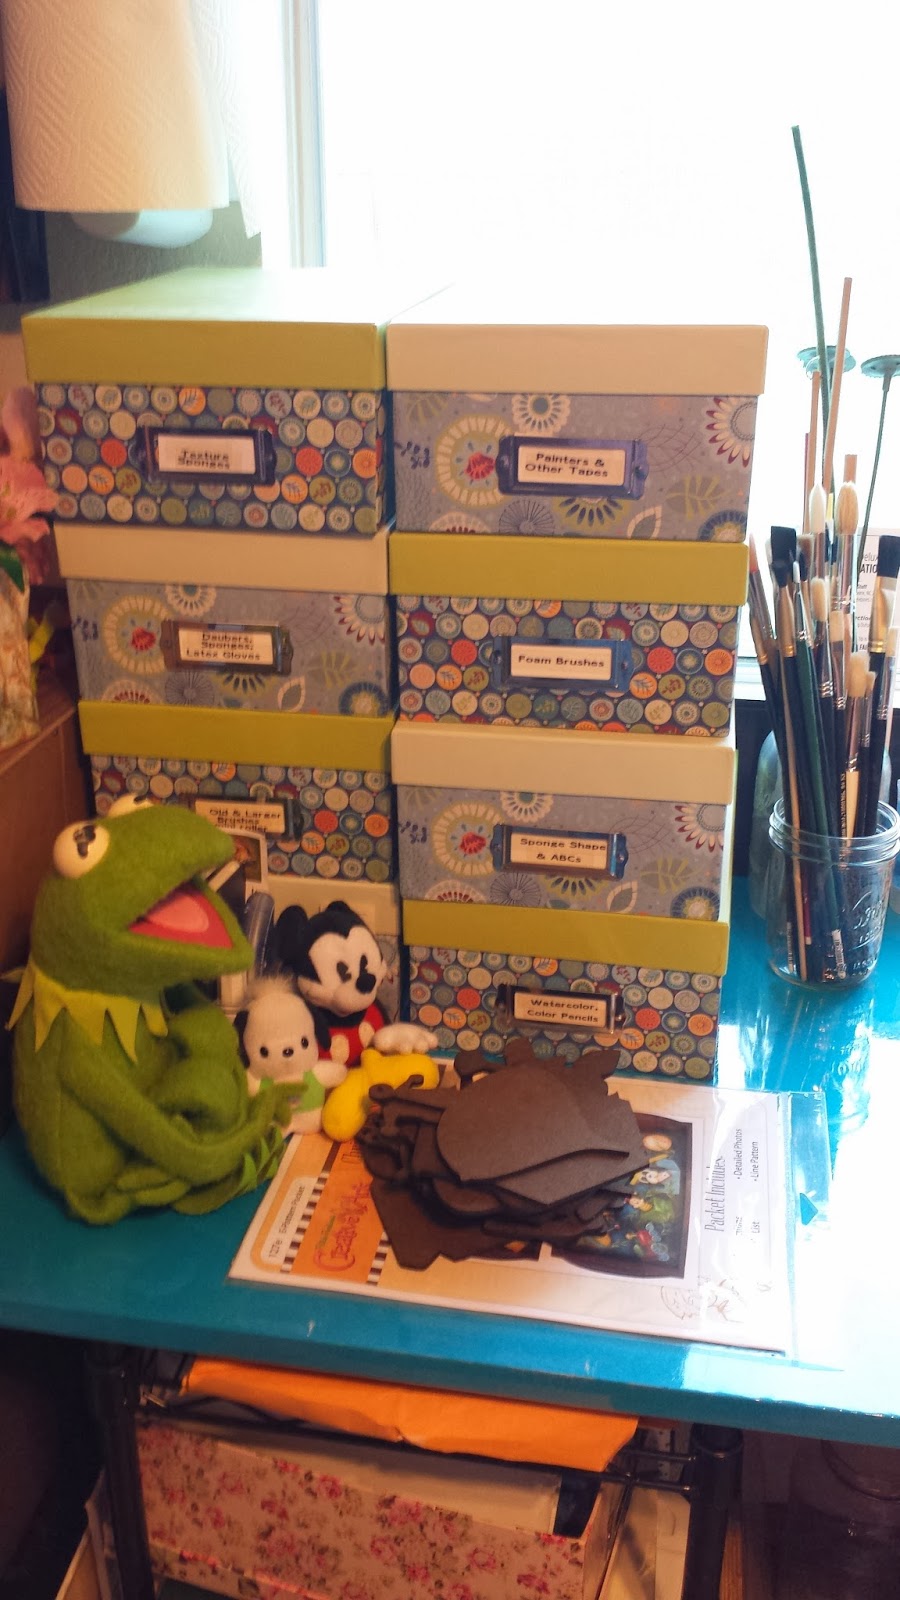
This next picture is moving on around.  The new work space is really deep.  I used a 2x4x10 to make the legs for shelves.  Then, the top shelf is hung with the $2 brackets that are all wood and sold at Home Depot.  The entire new scrapbooking work area was made with one sheet of plywood and the (2) 2x4x10s.  I am loving all the space!


All the magazine boxes are decorated with the type stickers that are in each one.


Had to find a way to keep the Sizzix right at hand!


There is a plate with an old clock pulled apart that is a project.  All sorts of fun stuff.  But, it is all organized now.  Hope you have enjoyed!

See ya soon!!! -Pam

Monday, January 6, 2014

From Christmas to Curtains...

Well, Christmas was fun and full of surprises.  If you read my last post, then you know that we went into the holidays with a great sadness in our hearts with the loss of my mother just weeks before.

To make it worse... I was scouring the master restroom the Saturday before Christmas and lost my wedding ring somewhere between the dresser that I had laid it on and who knows where. My phone would not let my husbands messages get through, and I was not due for an upgrade until Feb, 15th.

On the upside... I got to host both sides of the family at our home.  Hubby's side of the family all came on Christmas Eve for a Mexican fiesta.  My side all came over on Christmas Day for the traditional eats.  Both days went really well.  I was pleased, except that we didn't find my ring in any of the packages.

We went to AT&T and told them what was going on with the phone.  I got to start the new contract early, got $75 off phone of my choice without penalties, and didn't have to pay shipping or any of those "other" added charges.  New phone should be in between the following Wednesday and Friday.

On the Friday after Christmas, we went and ordered a sofa that we really liked from the Haverty's Outlet.  Ok, great, get to post the old one on the facebook garage sale site and hopefully get it out of there before Tuesday when the new one comes in. Why not, I have seen some stuff sell pretty quick, why not a couch?

Monday morning...this is where it ALL gets good, really GOOD!!!!  A single mom messages me that she really needs seating for herself and her son, can she come over first thing and get the sofa.  Doorbell rings... new sofa is here.  Fits perfectly!  Lady is due any minute when my daughter suggests that we look in the cushions, you know we always find coins and stuff in there.  Doorbell rings... I answer the door with tears rolling down my cheeks.  I am explaining to the lady that is there to get the couch that we just found my wedding ring in the couch!!!  I know that we had looked there before, but I guess it got scooted to the front?  Dunno.  Just Praising God!!!  She leaves with the old couch.  Doorbell rings... My new phone just got delivered.  WOW!!!  What a day!!!  Still feeling blessed!!!

Oh, the curtains part?  We had no curtains before all this started.  Just a top little valance.  We really needed some thermal lined curtains, something very inexpensive!  After several stores and patience running thin on some folks part...drum roll please... Anna's Linens came through.

Now, to go home and make it all look like it goes together in the bay window.


Ugly white rods... I have to find a way to make these work.  The window is crazy angles and new rods just are not in the budget!


Not much head room...gonna have to be creative.  I see another trip to the store in my future.  Maybe some clips that can go around the rods?


This shows the overhead alcove area a little bit better.  Talk about your wonkie windows!  Who designs these things?


Found these rod "clip rings" at Tuesday Mornings.  Got the three packages that they had and headed back home.  I was already thinking about the white rods...and plotting my next move.


These are the old ugly rods.


IF you have kept up with me at all, you know how I love spray paint.  I really am not too fearful of painting anything!


I knew that it was warm enough to do it, but only if I got to it right away.  Warmest part of the days here in Texas are from 2 to 4 or 5 in the afternoon. Now, let me just state that several light coats, allowing drying time between each is the best route of action to take.  I did two medium coats, let them dry for about an hour.  Not what I would advise you doing!  I only scratched one though, and am very happy with the end results!


Back in the house.  These were curtains with the grommet holes in the tops.  Well, they were too long and I didn't like the top!  Yes, I bought them already knowing this.  I turned down the top to the inside and attached the clips!  Now, they are the right length!  And, I didn't have to do any sewing!!!  I win!


After I got one all measured out, then I just laid the next panel on top and attached the clips.


Clip and go!!!  I WILL be using this style of clip again!!!


I had to have four panels.  So two of the panels have one less (each) clip than the other two.  So...I just did some adjusting to space them out differently.


Loaded up my rod and hung up my curtains!


Ta-da!  New curtains on the old cheap white rods that have been spray painted!  Oh, I would also rather use Rustoleum for this type project, I just didn't have any at the time.


So...these are our new thermal lined curtains.  They are actually tan, brown, and blue.  Matches the rest of the room perfectly.  I hope that helped you in seeing that you can make changes fairly easily.  It doesn't always take sewing and a lot of cash.  These are not the $40 panels that so many of the department stores sell!  Think outside the box!  The hem didn't have to be at the bottom, and the ringed tops didn't mean that I had to use them!  In fact, I could have hung them upside down and hemmed up the ringed area if I just wanted to hem them.

Oh...guess who got to go to the last Cowboys game?  Yeppers!!!  Another great gift!


We were just 19 rows from the field on about the 40 yard line!

Any questions?  Hope you enjoyed this little read.  IF you would like to have me blog on something specific, please leave me a comment.  See ya in a couple weeks.  -Pam