Do you all remember the flat backed, curved front table that I got a little while back? Let me refresh your memory a bit.
There it is in all it's glory. I paid $3 for it at a yard sale out in the middle of no where. They had ripped the veneer top off and didn't have a clue what kind of a gem this really was. I tend to see things in a finished and restored state when I am shopping. In that way I am lucky. My husband doesn't always see things that way, but he is still very supportive. So, I am still very lucky and blessed.
Ok, so you see all those gouges in the top? That was the first issue that had to be taken care of.
I tend to make due and use what I have on hand. So instead of going to the hardware store and getting some wood filler, I just used this Wallboard Joint Compound that I had leftover from a flooring project. Used a flat edged tool and slathered it on. After it had dried, I took some sandpaper to it. Then, filled in any areas that were still messed up. Sanded again, and then took a brown paper bag to it. Yes, I often sand with a brown paper bag, it is smoother than the finest grit of sandpaper and I can get it free at the grocery store. I just ask for paper from time to time, instead of taking in my grocery bags. Free is always good!
Now, you have to take a tack cloth, again I just use an old damp towel (it is free and available!) and go over the entire piece to get all the dust off. I know that you shouldn't sand inside, I just always do! lol.
I went to the art room and started pulling bottles of paint that I though would resemble the look of the cherry wood finish, or whatever that is. Took an old clean lid from a cool whip container and put the paint out, and took a paint brush and did my top.
What do you think?? I know it isn't perfect, but it is much better than it was and I still have more to add. I also did the bottom, and put the legs back to the original black. Now, what to paint on it, I just have a hard time leaving stuff alone. So, it goes to the side of the room til I figure out what is next. You have heard folks say that certain things talk to them. Well, I have gotten to where I can hear certain things (or maybe God is just helping me out a bit!) lean towards certain patterns to be painted.
So, anyway, with all the lines and such, a Tree! Why not, they seem to be popular right now. Had to go get out some more paints and do a very bright background. A tree sure wasn't gonna show up really well on brown.
Looks really, Really REALLY bright doesn't it? I have come to realize that I don't judge my project til it is out of my head and on the surface. So...stay with me. I think you will be surprised.
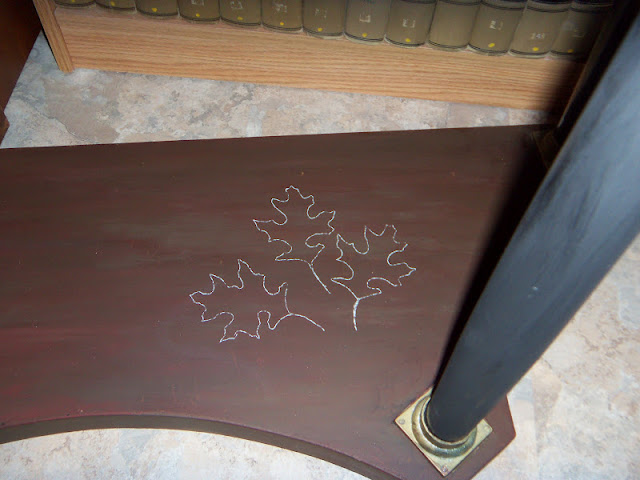
Had to put something down on the bottom, so I drew some leaves and you got it...went back for some more paint colors from my stash in the other room.
It still just didn't feel finished. I wasn't happy with it yet. So, I went online to find a saying or something that I could paint around the curve of the front. This is what I came up with...
Now, that I am happy with!!! I still have to take a wet rag to get off all my chalk lines from writing out the words, nothing worse that free handing it and finding out it isn't centered. The chalk will come off easily. Then I have to seal the entire table and it will be for sale.
So...go out there and look with new eyes! I have two more end tables that I am currently working on, and maybe I can show you those soon. They were not nearly as involved as they were in better shape to start with.
Let me know if there is a product that you would like me to try out or share how to use. I wonder how many folks read these blogs, but I do like writing from time to time...so I will be back.
-Pam


