
These are the basic tools to be able to do this project, I had to go a step further and do some decorating though...so I did add some items along the way. One cardboard salt container, scissors and a canning jar with the top ring.

Take your canning insert and lay it on top of your salt container, but put it off to the side and over the spout.

Take a pen or pencil and trace around it. I know that this is simple, but I have this thing about showing photos.

Just jab into the side of the canister with your kitchen scissors and start around it, you can see below.

See, not so neat and clean, just trying to get the top off so that you can work with it.

Now you can trim it up a bit. You can tell that mine is still not a perfect circle. That is fine, and it will look better with the jar ring over it.

Here it is with it all cut out a little neater and ready to go into the ring.
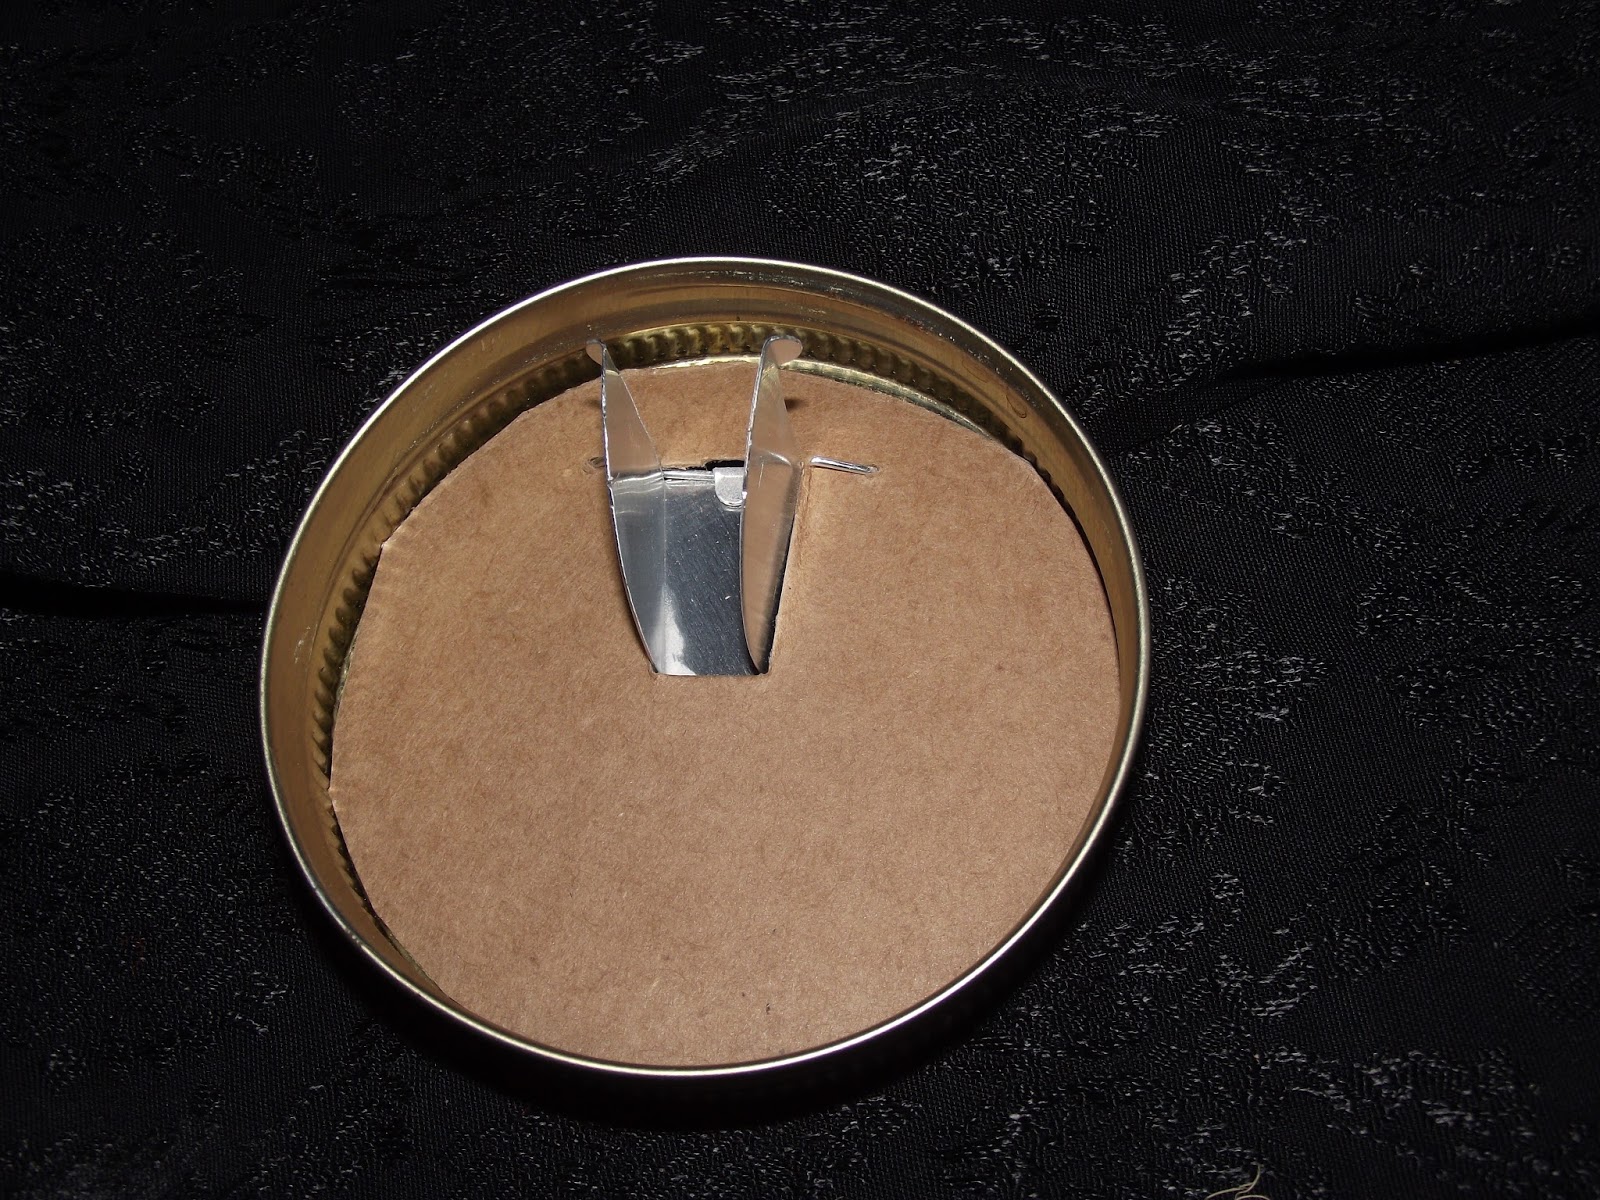
There ya go, you can see it from the inside.

Here it is from the outside view. Kinda boring though.

So...what to do?

This is a picture of my old empty coffee can that I put some paper around. I use it to store my filters in for the coffee pot. I think that this scrap of scrapbooking paper looks good with it. Let's see what we can come up with.

Here we go with the tracing again.

This time, I will also need to trace the opening in the top from the pour spout. Just squeeze the ends together gently and it will flip out of the way for a good clear area to trace.

In fact, let's just go ahead and take out the spout. Flip it over, carefully flip open the wire and slide the entire thing out and set it aside.

I always say the best tool for the job will help you to get it right the first time. So, cutting mat, metal straight edge, and a cutting knife of some sort.

Stack the new paper cut out over the container top and line it up. Make sure that your paper is the same size.

Ahhh...this shadow, I do not know what happened, sorry. But here, you can see that I used some little scissors to cut it down a bit more and to get in those corners really well.

Next, I decided that sticky scrapbooking squares would be my best bet to attach the paper to the cardboard top. I have to use both in order to give the paper the strength to hold up to everyday use.

We are almost finished, I promise! I used a straight pin to poke through the holes so that I could put the pour spout back in.

Just slide it back in and fold it over on the inside. Easy.

But, you have heard the saying that "IF it can go wrong, then it will." Yeppers, it broke...
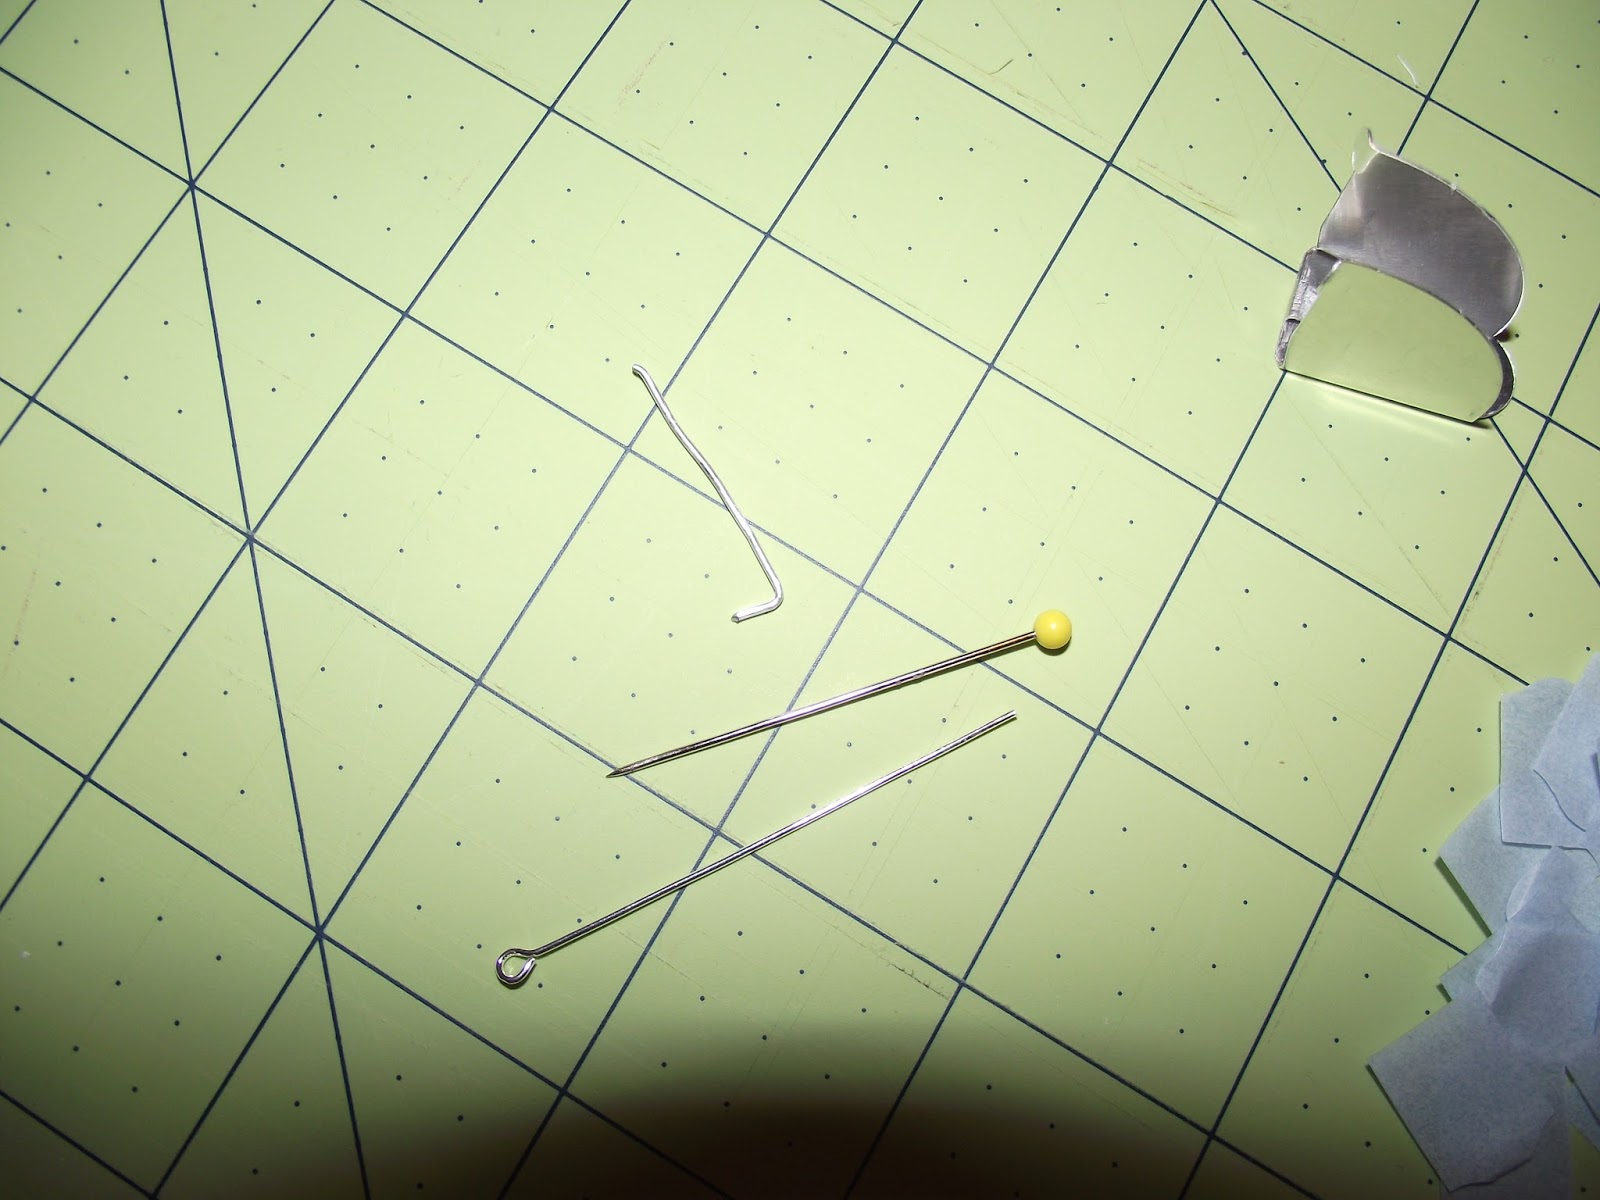
Because I also both sew and make jewelry, I had a couple of ways to fix this. Use the straight pin or use a piece of jewelry wire.

I ended up using the jewelry wire. Cut it to length, used the pliers to bend one end and slid it into the rounded area where I had taken the broken one out. Then, I folded in the other end...being careful to make sure that it was the correct length.

Pop it in, fold it over and put it into the ring....praying that it works! lol

It is so much cuter!!! I should have scrubbed the little metal spout while it was out, but I can do it now and just not get my paper wet.

Ta-da. But, the container really does look huge. I think that a quart sized is not needed, really rather large to leave out on the counter all the time. I do not use sugar, and this is just for guests.

Oh, I love it. I think this is a 1/2 pint sized canning jar.

So. What do you think??

I think that I need to make another one for the powdered creamer. Maybe I will even cover a box for the liquid creamer that I use in my coffee and have a little matched set.
On to the kick space at the foot of the bed. Let me explain why I do this...I do not like to get into a bed and have my feet feel all cramped at the foot area from it being tucked in.


I pinch about six inches up from the end of the bed...

And, just start pulling it down...

Until it is lined up with the foot of the bed again. Repeat on the other side.

When you crawl into bed, you are not un-tucking the foot of the bed. Foot room is now available. Am I the only one that likes that extra space?? Oh well, thought that I would share.
Hope that you have been able to keep cool this Summer. Our Texas heat has sent us into triple digits for several days. See ya back in a couple weeks or so.
-Pam