Below, is a picture of my very first sewing area, the machines had to go below the pop-up tables. Just goes to show, that we can do something with a space and then upgrade as we can afford it.
http://tinkartist.blogspot.com/2012/09/making-large-work-space.html This link will show you how to make your own table out of a sheet of plywood from Home Depot. This is the most reasonable priced way of doing things that I have found. Please feel free to share your room in my comments! The picture below is how I had the table this last time. But, the supplies were all in a bookcase across the room and the serger machine was kept in the closet. Just too time consuming to get to what I needed for a project, so I just didn't use the space for anything but a junk surface.
Also... that file cabinet to the left (below) is covered with woodgrain sticky back paper now too. My fabrics are in those cabinets hung by type on file folders. That is also shown in my blog. Keeps fabrics clean and no fading from the sun, plus they are at your fingertips with just a pull of the drawer!
The next picture show how the room looks now. I must say, it is very workable now. Everything right there where I can get to it! The over-sized mat for cutting is standing at the end of the table with my tabletop ironing board.
I hope you like how I labeled everything for you and that maybe something here will help you in your sewing space. Click the picture and it will be larger and easier to read all my notes and labeling.
A friend asked me this week if we ever get to where we stop changing things in our "work spaces". I told her that I didn't thinks so. It is the nesting trait that we have as women. So... don't forget to check back often to see the next part as it is revealed, or just follow and it should let you know when I update the blog. There will be at least three parts to this room makeover.
So... hope to see you soon, as I am excited about this and want to get it finished up pretty quickly. Next entry will be the painting area in the room. -Pam
HEY!!!!!!!!!! I AM BACK!!!!!!!!!!!!! I am finding it easier to just add the pictures of the rest of the room here, instead of starting another new post. So...
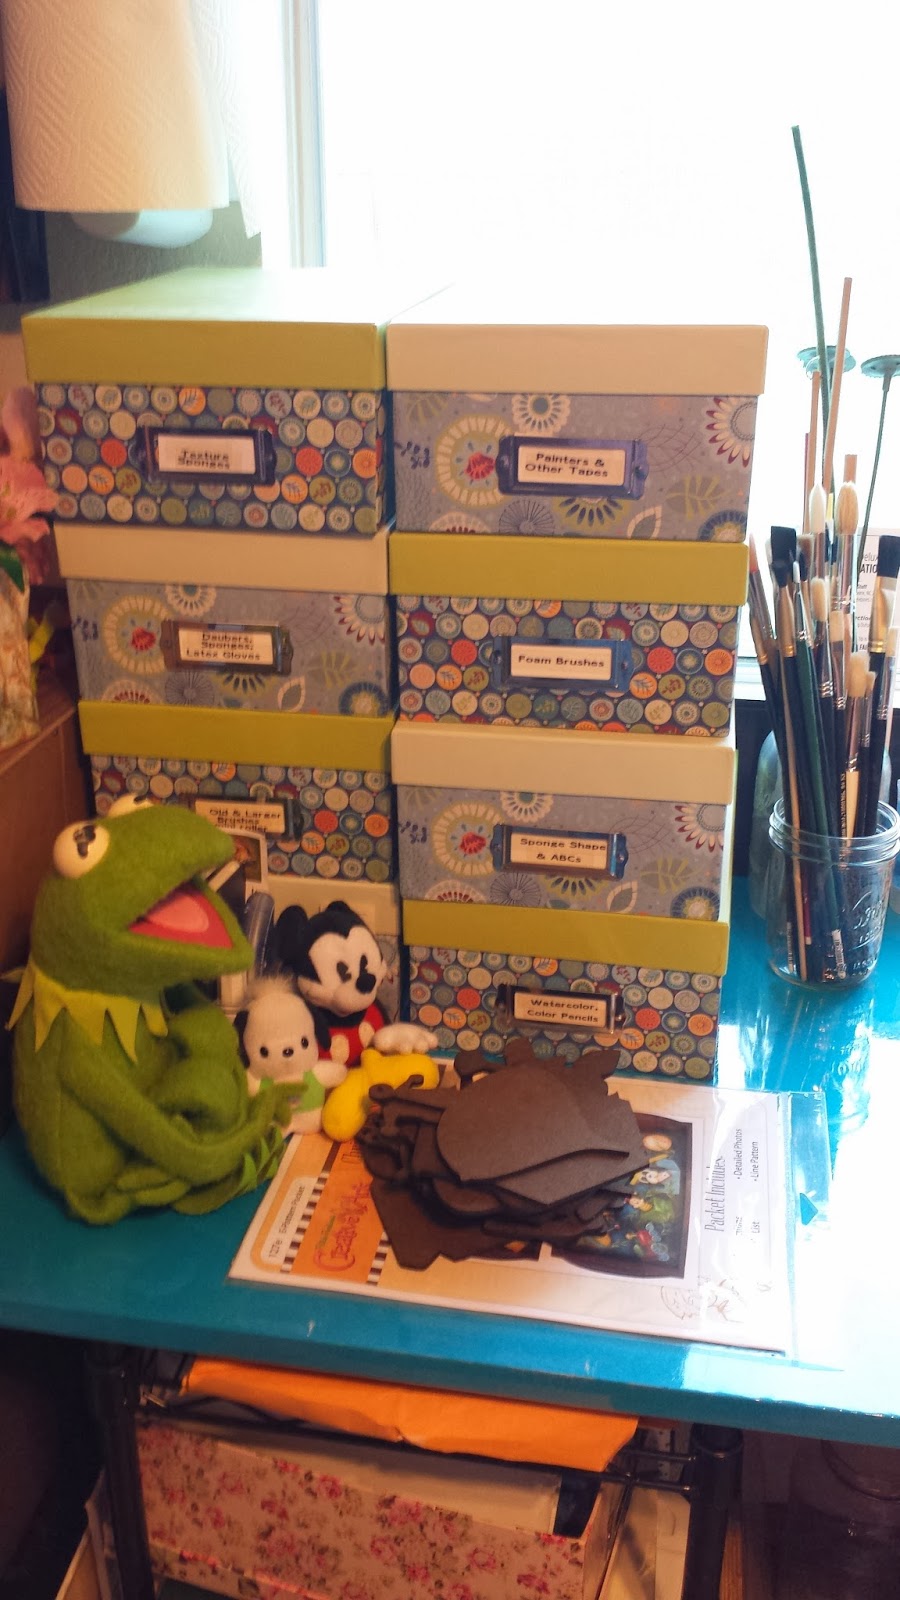
Below is the left and right sides of this painting area.
This next picture is moving on around. The new work space is really deep. I used a 2x4x10 to make the legs for shelves. Then, the top shelf is hung with the $2 brackets that are all wood and sold at Home Depot. The entire new scrapbooking work area was made with one sheet of plywood and the (2) 2x4x10s. I am loving all the space!
All the magazine boxes are decorated with the type stickers that are in each one.
Had to find a way to keep the Sizzix right at hand!
There is a plate with an old clock pulled apart that is a project. All sorts of fun stuff. But, it is all organized now. Hope you have enjoyed!
See ya soon!!! -Pam


No comments:
Post a Comment