Right now, my favorite colored pencils are PrismaColor. They are pricey! But, you can use your JoAnn Fabric/Hobby Lobby/ or Michaels Coupon and get them at a significant discount. I seldom get any of my art supplies at full price. IF something is on sale for 30% off and I don't have to have it right then, I will wait til it goes off sale and use that 40% off coupon the next week. Save money, purchase more! lol
I am going to posts these pictures using the PrismaColor Premier Pencils....

In this first photo... take a look at all the Tuscan Red that I put in. See how it deepens that back area to make it appear to be going down into the back... see how it goes to being really dark to much lighter touch with the pencil. In the end... this will be the darkest part of the flower. In the next picture, below, you are gonna see where I start to put in the highlights... the Orange.

Looks pretty bad right now... right? Hang in there... I am going to add my base color, (Magenta) the color that you want the overall flower to be. See below....

Here is where I added just a bit of the Magenta color... above. Then, look below, I deepen the Magenta by just coloring more... I do very light motions and a lot of time, I will do it in circular motions. You don't wanna just scribble it in there. No part of blending pencils will cover up all the scribbling that I have seen some folks do.

In the above picture... You can already see how that Tuscan Red is starting to blend in with my base color of the Magenta.

Here is the flower after I put all the color in and started to blend...

These are the colors that I actually used on the flowers.

Here, you can see that I have started blending the flowers with the blender that PrismaColor sells. Every now and then, you will need to sharpen off the color on the blender, or wipe it off on a different sheet of paper to keep from dragging the color from one area to another.
OK... Now that we have been through it once... I want to take you down the path again with something that doesn't have the same light and dark, but several different shades. This one actually goes from White to Tuscan Red.

Can you see the part to the right and above my finger that looks kinda like scales? That is actually where I colored with the White. (above photo) That is the build up of the wax in the pencil that you are seeing in the reflected area.

Here, I moved in just a bit and put in the Hot Pink. Doesn't look so hot, but that is what is on the side of my Premier Prisma Colored Pencil. Moving on....

Now, this one has the Process Red added....

Above... I added in the Scarlet Lake. Below, has Tuscan Red added. I also want to add that I do try to do all of one thing at a time. I want to be sure that I am doing all of a particular flower with all the same colors with all the same pressure on the pencils in this case.

Each time I added color, I tried to do it in an overlapping fashion and in a light small circular motion.
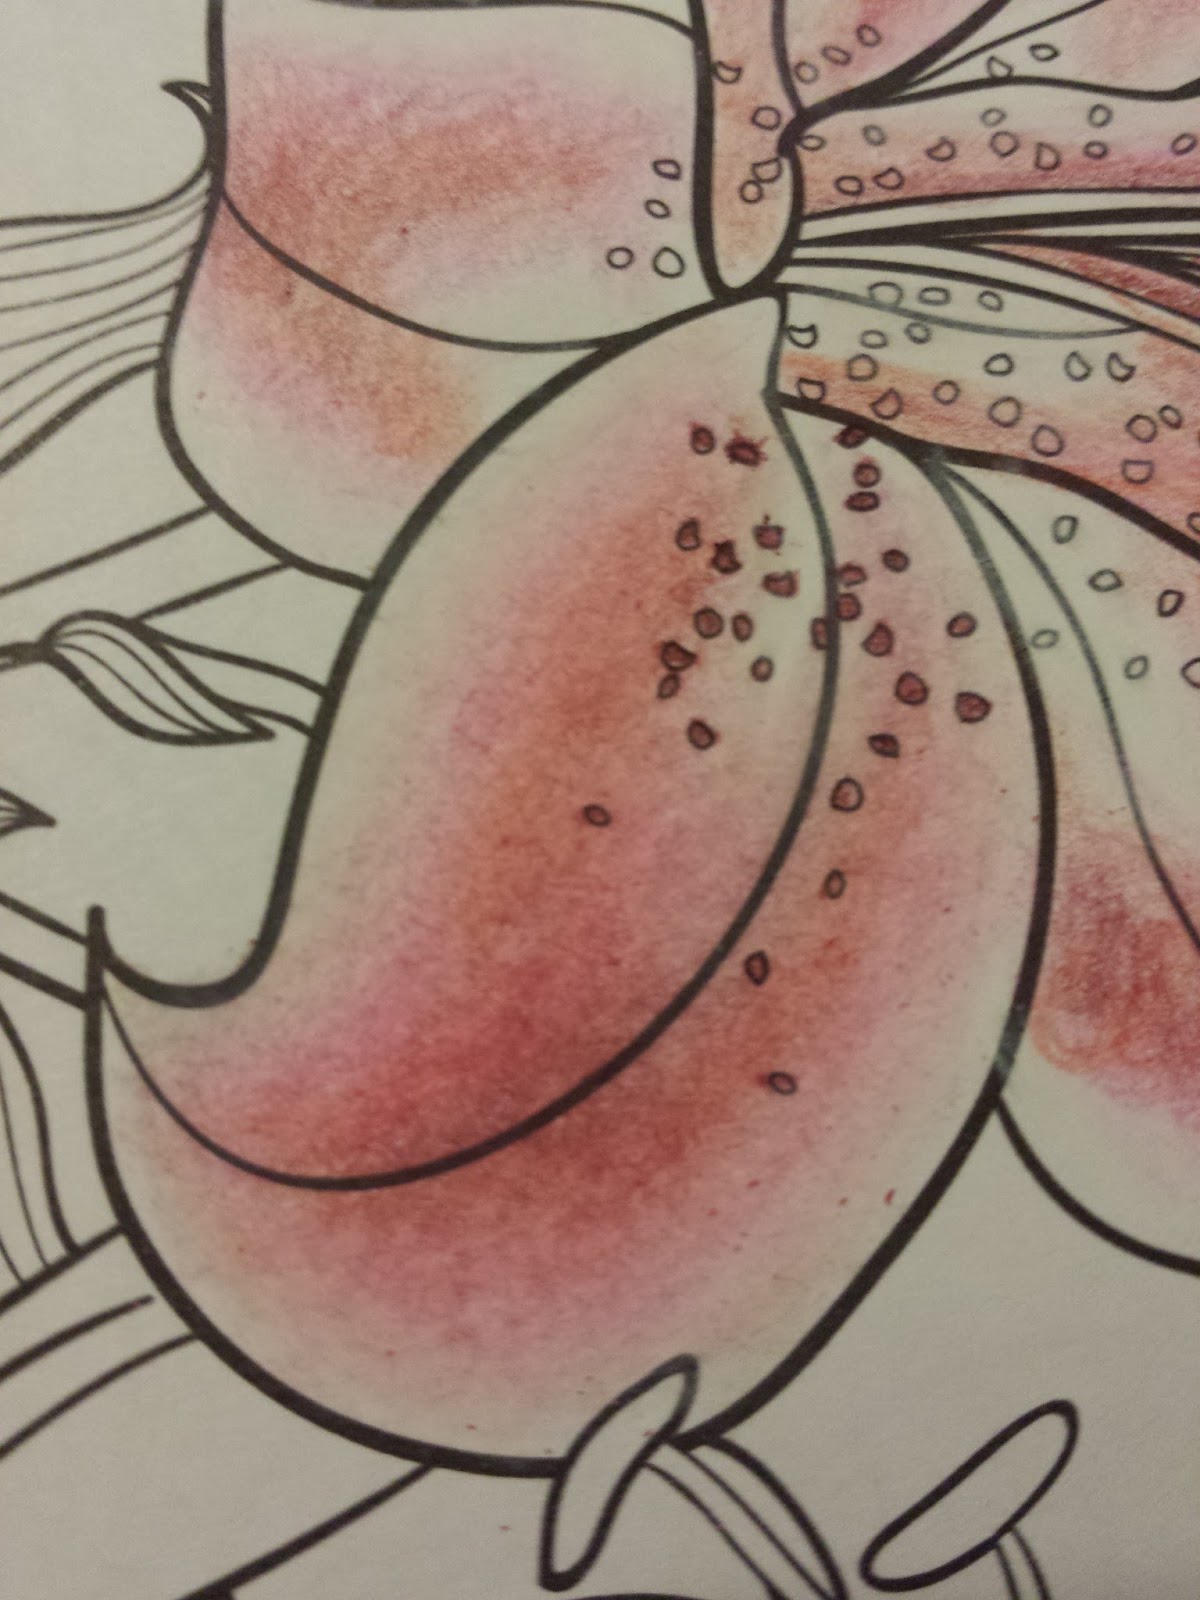
This last photo shows after I went all over with the blending pencil and then added the little bits of Tuscan Red to the dot area.
BIG TIP - practice on some paper first. These Premier pencils have a soft core and wax added in the production of them. That is what makes them so easy to blend. Once they are blended, it is harder to go back and add more color, but it can be done. All papers have some sort of "tooth" to them. In the blending process, you are flattening out that "tooth". So, the smoother your paper, the less tooth and the fewer layers you are going to be able to pile on. I have seen pictures done with these pencils on very very find grit sandpaper that look like a photo! These pencils are amazing. Again, take the time to do some coloring from light to dark on a scrap of paper and blend it. You want to get the feel for it before you go to your project.
Some of you may be asking... what if I don't have PrismaColors? How do I get it to blend? Ok.. still the same principles apply... Start light and go darker. Overlap the light areas so that they blend into one color. There are little papery things called tortillion sticks. This youtuber put it nicely....
https://www.youtube.com/watch?v=K-pzgAu9Fm0
So, when you use colored pencils, you can still blend. No matter the brand. Practice going from dark to light, and do it lightly. Overlap those light areas, use the blenders.
Hope this helps. Let me know if you have questions in the comments area and I will get back to you.
-Pam
No comments:
Post a Comment